A. Important Notice
1. What’s new in the Raptor Air compared to the Raptor Z Arm?
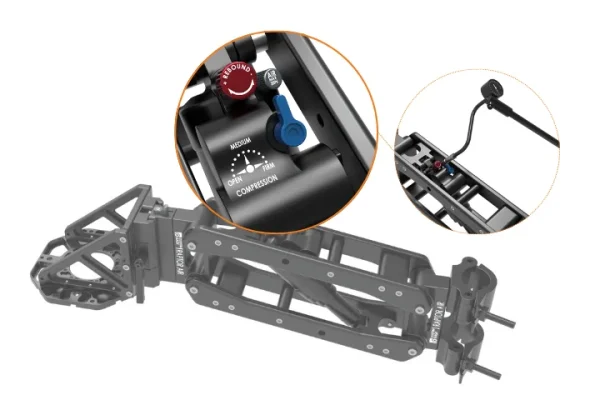
The most significant upgrade in the Raptor Air is the transition from hydraulic dampers and spring adjustments to an advanced air suspension fork.
Instead of swapping springs to match different payloads, filmmakers can now fine-tune the air pressure to achieve optimal performance across a wide range of camera setups.
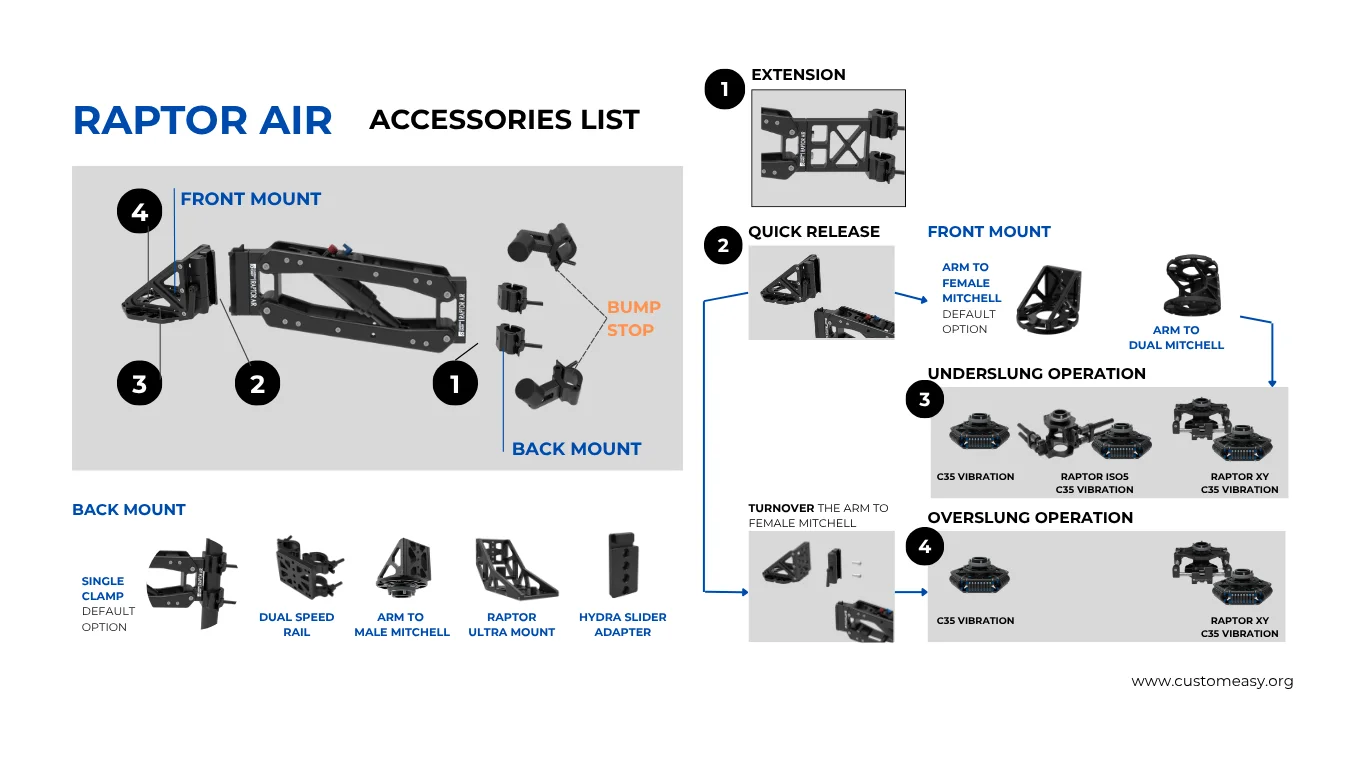
This upgrade allows the Raptor Air arm to support:
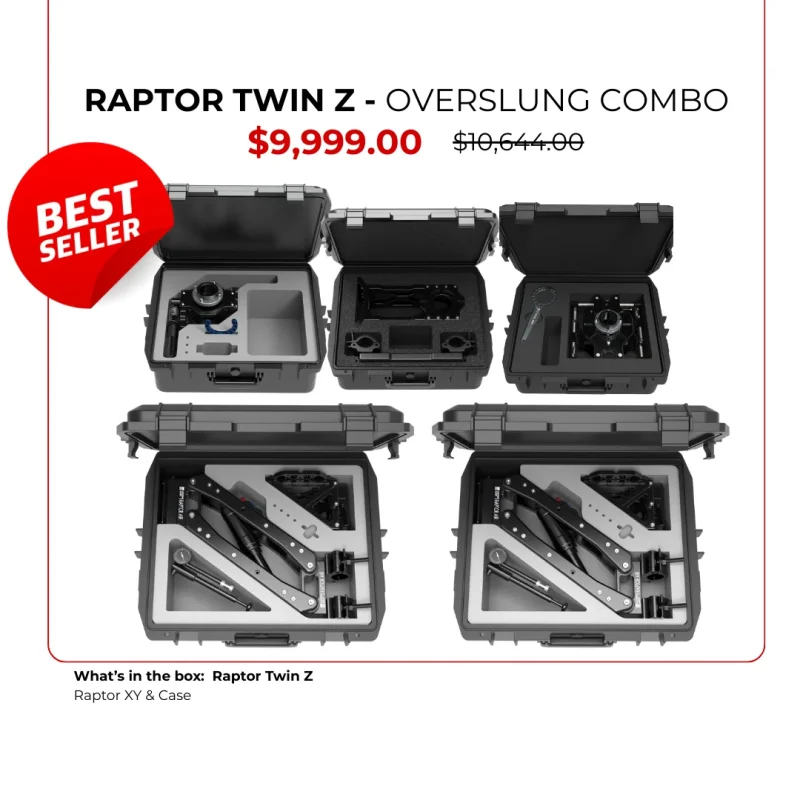
- Up to 35kg payload when combined with vibration solutions such as Raptor ISO, Raptor XY, or C35 Vibration Isolator
- Up to 64kg payload when configured as a Twin Z setup
Some users have also successfully used Raptor Air with the DJI Ronin 4D, allowing lighter setups that were not previously supported by the Raptor Z arm.
2. Can I use Raptor Z Arm accessories with the Raptor Air?
Yes. Most Raptor Z arm accessories are compatible with the Raptor Air, except Heavy Springs, which are no longer required due to the air suspension system.
You can read more compatibility details on our blog HERE.
3. Can I trade in my Raptor Z Arm for the Raptor Air?
Yes. We support Raptor Z arm trade-in upgrades to the Raptor Air. Please contact your local reseller or email us directly at: contact@customeasy.org